What is a document and what is a template?
Any document you do not wish to standardize or send multiple requests on, is classified as a document in the system. Any document on which you expect to send multiple requests to clients is classified as a template. It allows you to send requests to users either individually or in bulk.
Step 1: Uploading/Importing a document/Template
-
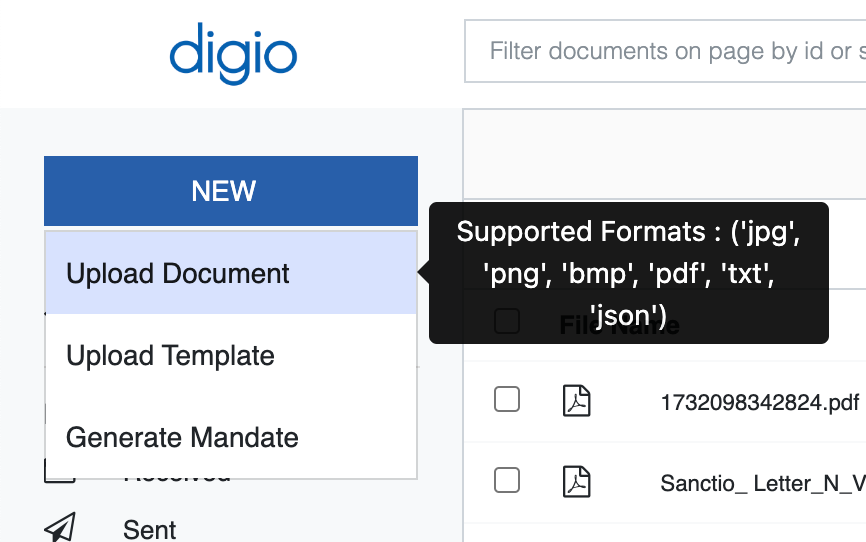
After logging in on Digio Platform, click on the NEW button.
-
There are 2 options to upload a document:
-
Upload Document
- This will allow users to upload document in below formats:
- JPG
- PNG
- BMP
- TXT
- JSON
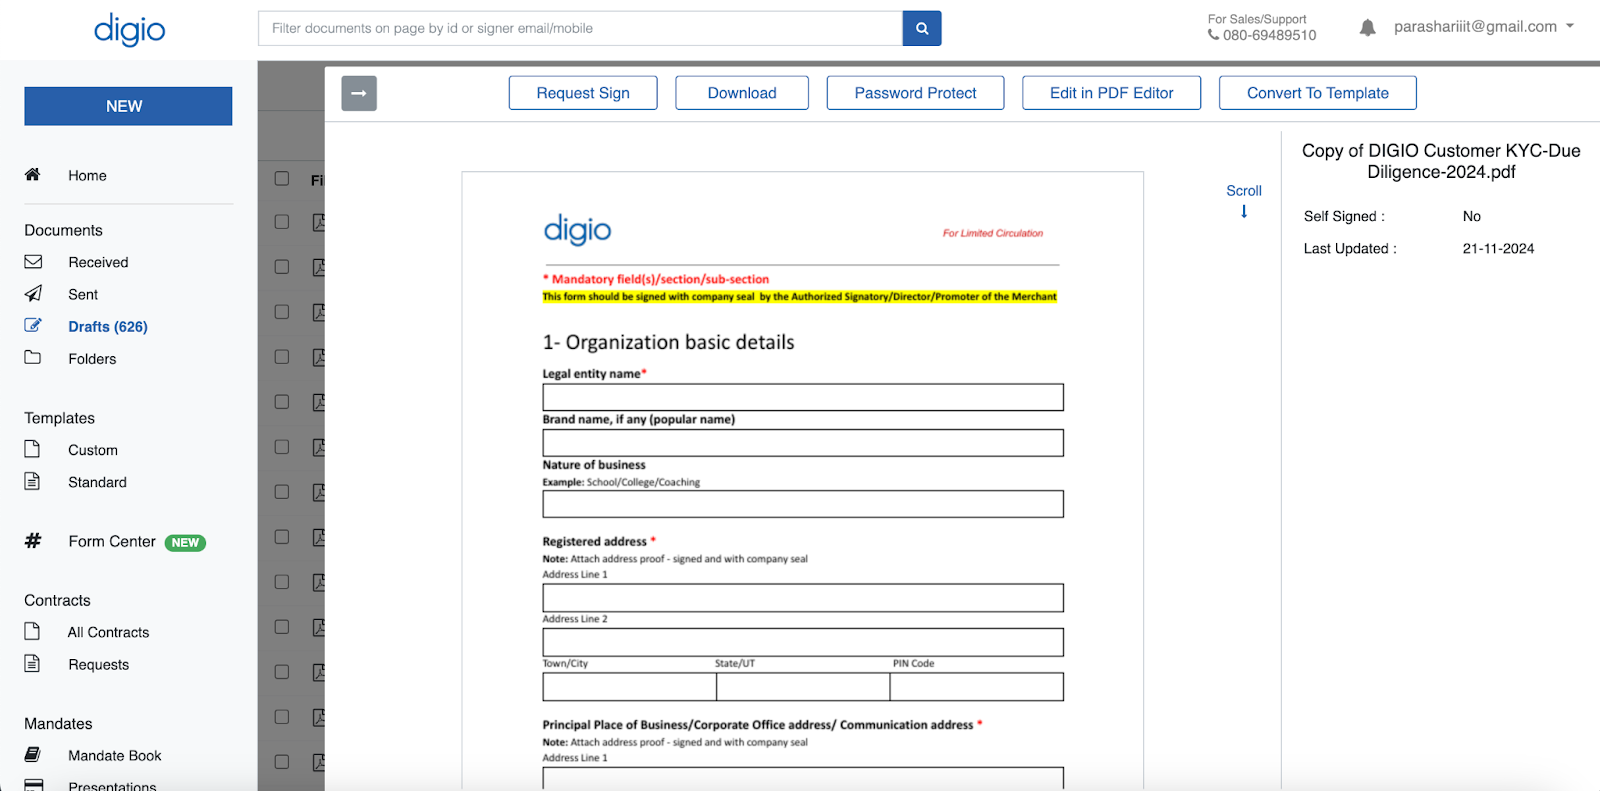
- Once uploaded, you can view the draft document in PREVIEW mode. There, users will also have the option to:
- Request Sign
- Download
- Password Protect
- Edit in Editor
- Convert to template
- This will allow users to upload document in below formats:
-
Upload Template
- This will allow users to upload document in below formats:
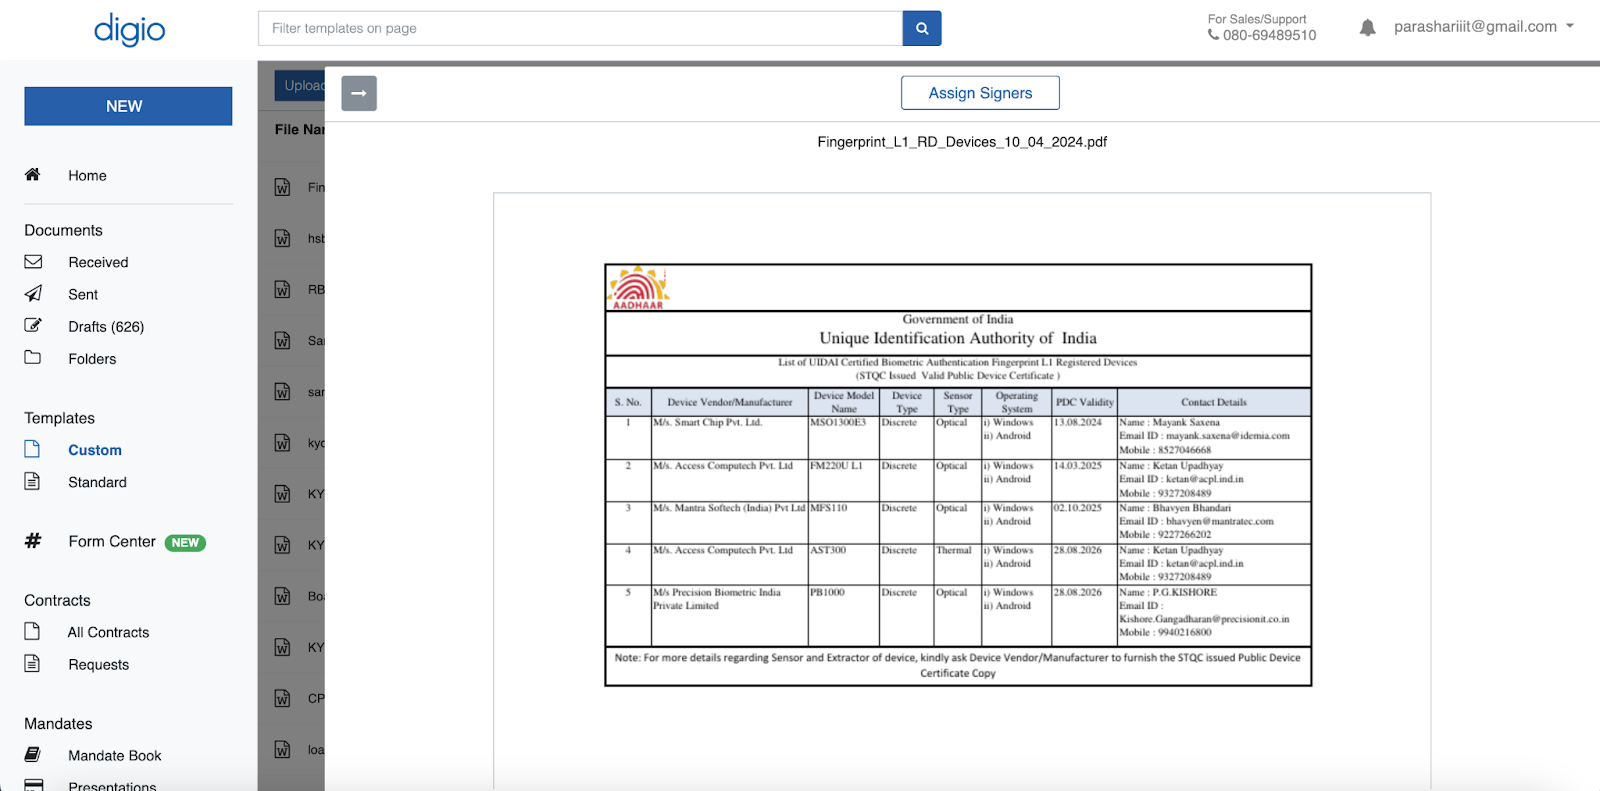
- Once uploaded, you can view the draft document in PREVIEW mode and Assign Signers on the same by clicking the Assign Signers button.
- Assign Signers view will allow users to choose signers for the document (optional) along with the sign type and whether signing for that individual is optional or not.
Please Note: This remains an optional step for flexibility. - Once the user clicks on Next, he/she will move the Variable Assignment view.
Note: The size limit for uploading the template is 10MB. - This will allow users to upload document in below formats:
-
-
The Import option is available for templates only.
- Import Template
- In the top panel of the Custom Template section, users can see the Import Template option.
- This will allow the users to import templates in JSON format from the system.
- This becomes extremely useful when users have created complex workflows in the testing environment which they wish to reuse in production (with or without tweaks).
- NOTE: Please save the imported templates after uploading to ensure there is no loss of tagged variables
- Import Template

Step 2: Defining signers and signature position on the template
Users can assign Signature Box to the document by clicking on the Signature component in the left panel in the Editor.
- On the right panel users can see the signature positions on all the pages of the document along with the option to see Sign Coordinates.
- They can also click on the Show Sign Coordinates option to see the coordinates of the signature box.
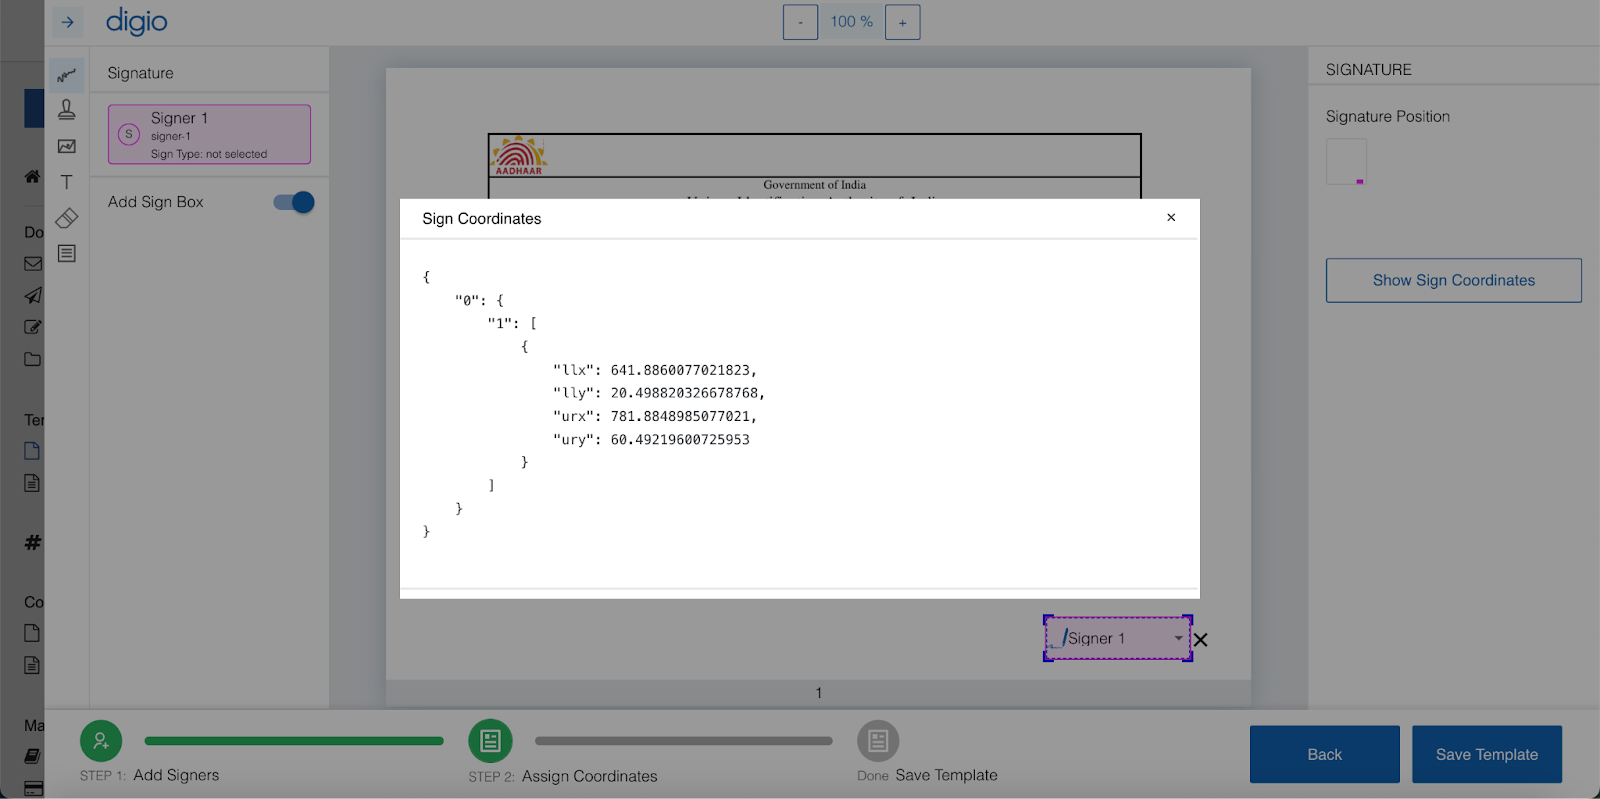
- For the added Signature box, users can:
- In case of multiple signers on the document, choose the signer for the location, by clicking on the drop down option against the Signature Block.
- Choose to replicate the signature box on the same location on the different pages of the document.
- Choose to remove signatures on all pages of the document.
Step 3: Defining Variables on the document template
In our editor you will have the option to define various types of dynamic variables along with other options like assigning signing coordinates, adding stamp(seal), adding age, adding Text and Masking content options. Refer a sample document where you can see the use case for assigning variables to be filled by the end customer.
- If the document already has existing assigned fields, the same can be detected by the system by clicking on the Auto Detect fields option in the right panel under the form fields section in the left panel.

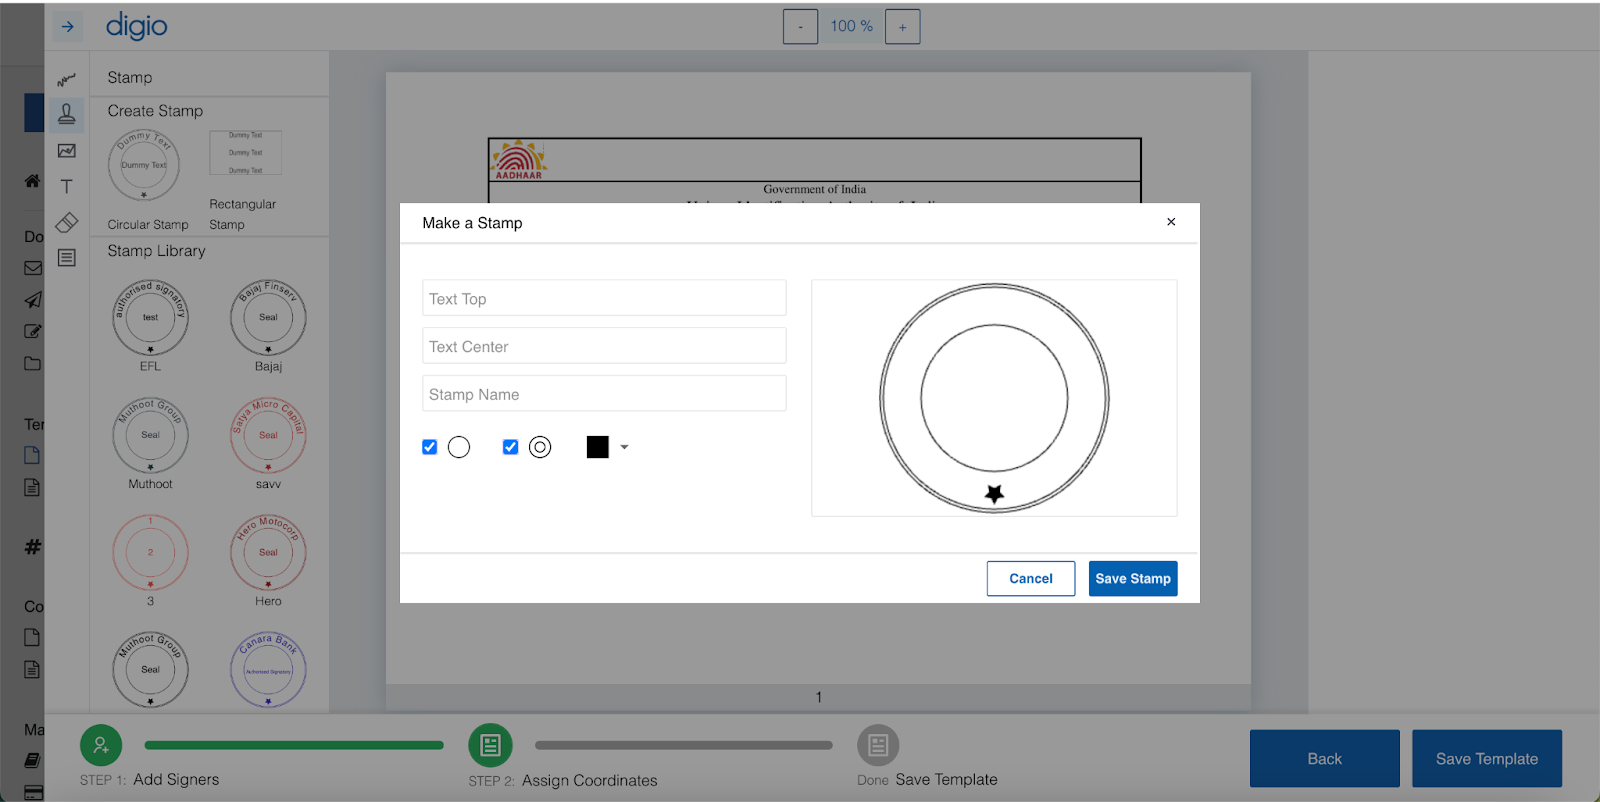
- Users can add stamp/seal on the document either by creating the stamp or selecting from the stamp library
- Clicking on the stamp/seal types will allow the user to create their custom stamp/seal.
- The stamp/seal are of 2 types:
- Circular
- Rectangular
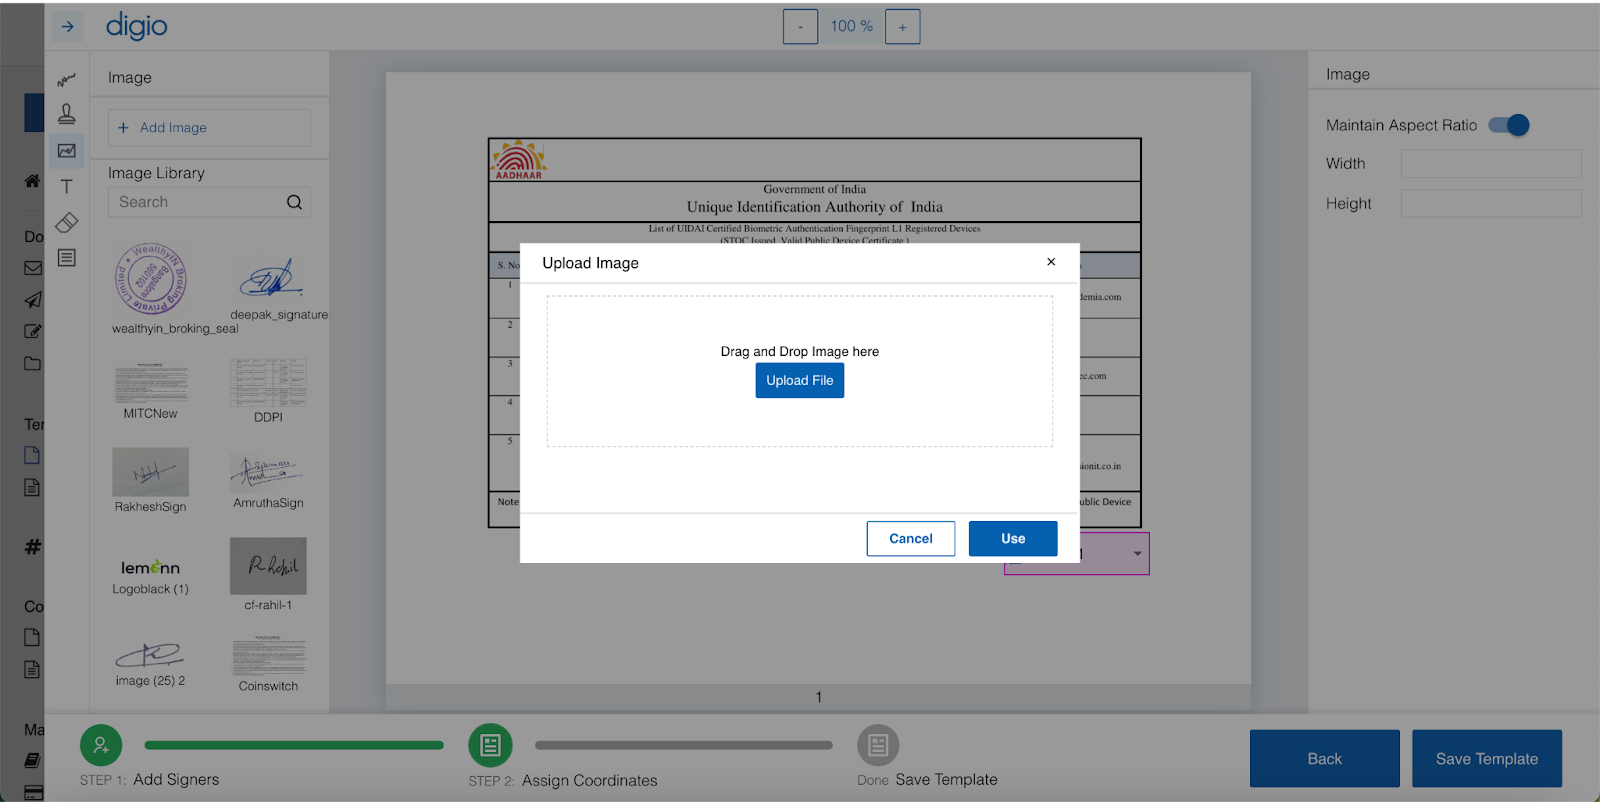
- Users can add images on the document either by uploading or choosing from the image library.
- Add Image option will open a pop up where users can drag and drop images or choose to upload the same from the local file system.
- Upload file will allow users to upload images in the below formats:
- JPG
- PNG
- BMP
- The images cannot be greater than X size
- Once the uploaded image is selected from the library, the mouse pointer can be used to choose where the image needs to be placed on the document.
- Once the image is placed, users can choose to change size of the image by:
- Maintaining aspect ratio(Change height and width will change as per aspect ratio)
- Without maintaining the aspect ratio(change both height and width separately)
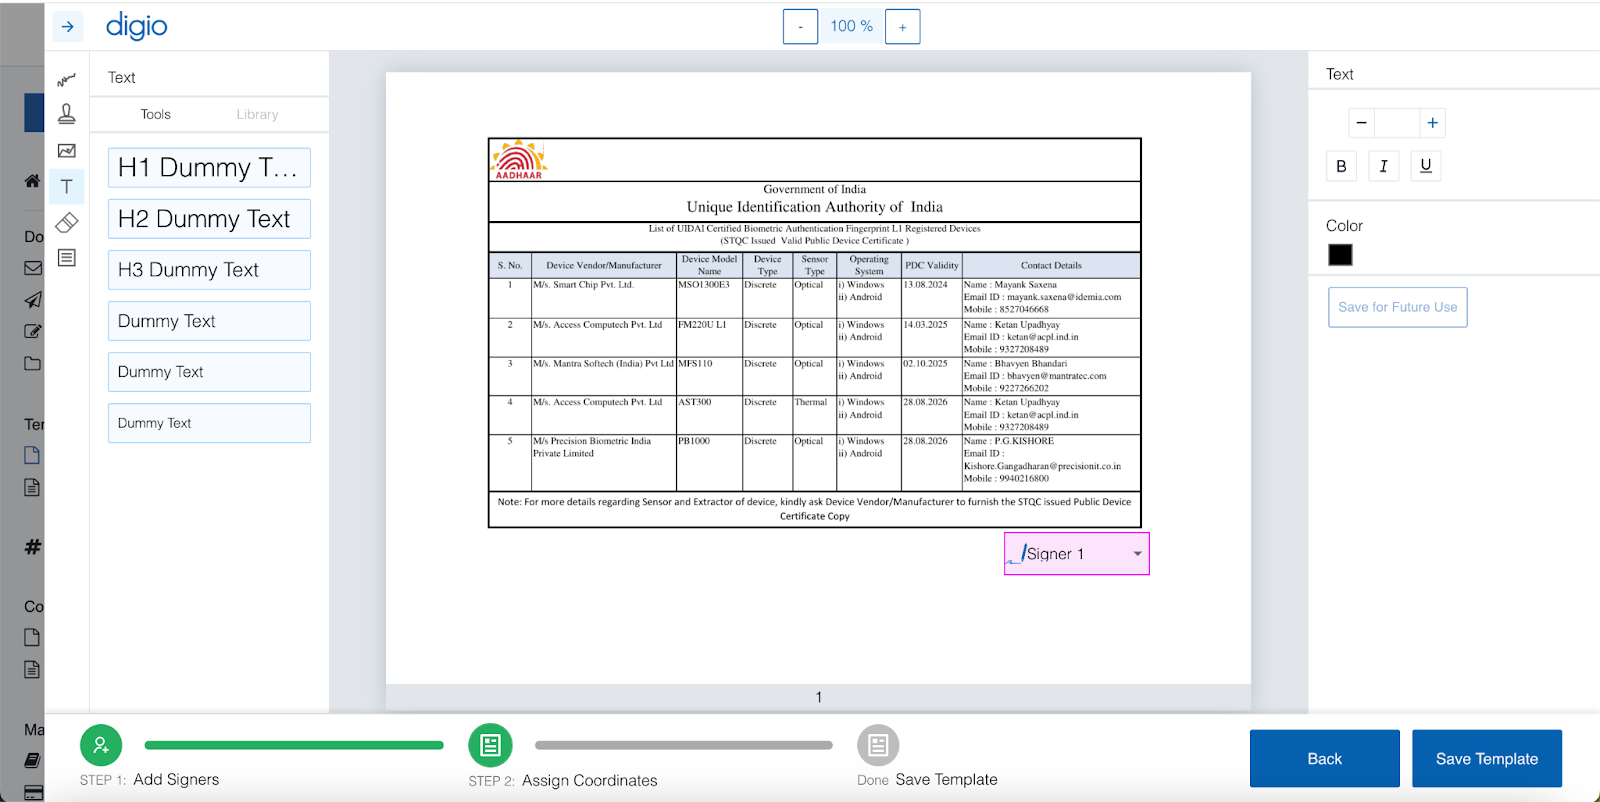
- Users can add a text field to fill/add information on the document by choosing from different text size options or choose from the predefined text library.
- Selected text size will allow users to place the textbox, from the mouse pointer, on the document.
- Once placed they can enter the desired text in chosen font size(or change the same using the size option in right panel)
- The text can also be made Bold, Italic or Underlined.
- Users can also choose text colors using the color palette(available on click of black color box)
- The custom textbox can also be stored for future use in the text library.
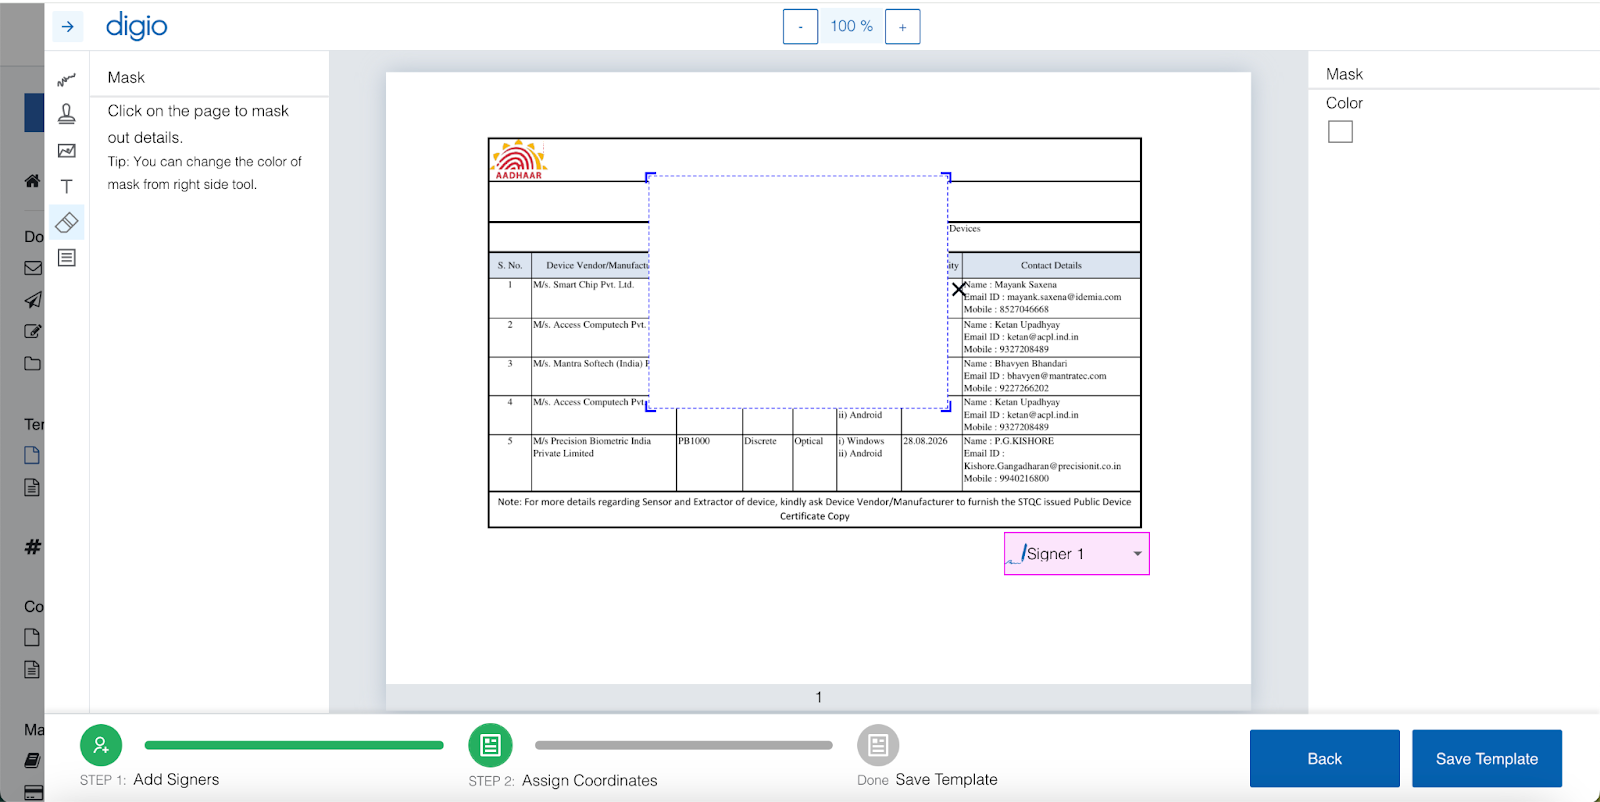
- Users can choose to mask content on the document from the mask option.
- By default the mask will be in white and will appear as a box with the mouse pointer to be placed on the desired text.
- Users can also change the mask color by clicking on the white box in the right panel.
- Last but most important, users can choose the different form fields to be added on the document to take inputs from the users.
| Variable Type | Input | Example with Naming convention | Business Scenario |
|---|---|---|---|
| Textbox | Add Text box | Eg. Name - name_of_client, Email ID - email_id_of the_applicant (Keep everything in small case and use _ for spaces) | Any text field like Name, Date of birth, amount, etc. |
| Textarea | Add Text area | Eg. Address - address_of_client | Any input field that requires longer input data or multi line input |
| Image box | Add image box | Suggested convention: i_nameofvariable Eg.Photo - i_userphotograph | Any image that needs to be embedded/attached to the document like applicant photograph, supporting documents, etc. |
| Checkbox button | Add checkbox and define the options in the properties of checkbox | Suggested convention: c_groupname_option Eg. c_poi_passport, c_poi_voter | Any multi select option like document type, etc. |
| Radio button | Add radio button and define the options under properties of radio button | Suggested convention: c_groupname_option Eg. r_gender_m, r_gender_f | Any multi choice option like gender, etc. |
- Keep the variables length small (upto 50 characters)
- Use A4 layout across all pages of document
- Use default margins on all sides of the page
- If the template is extremely bulky with more than 20 pages and 100 variables then split the document into 2 templates
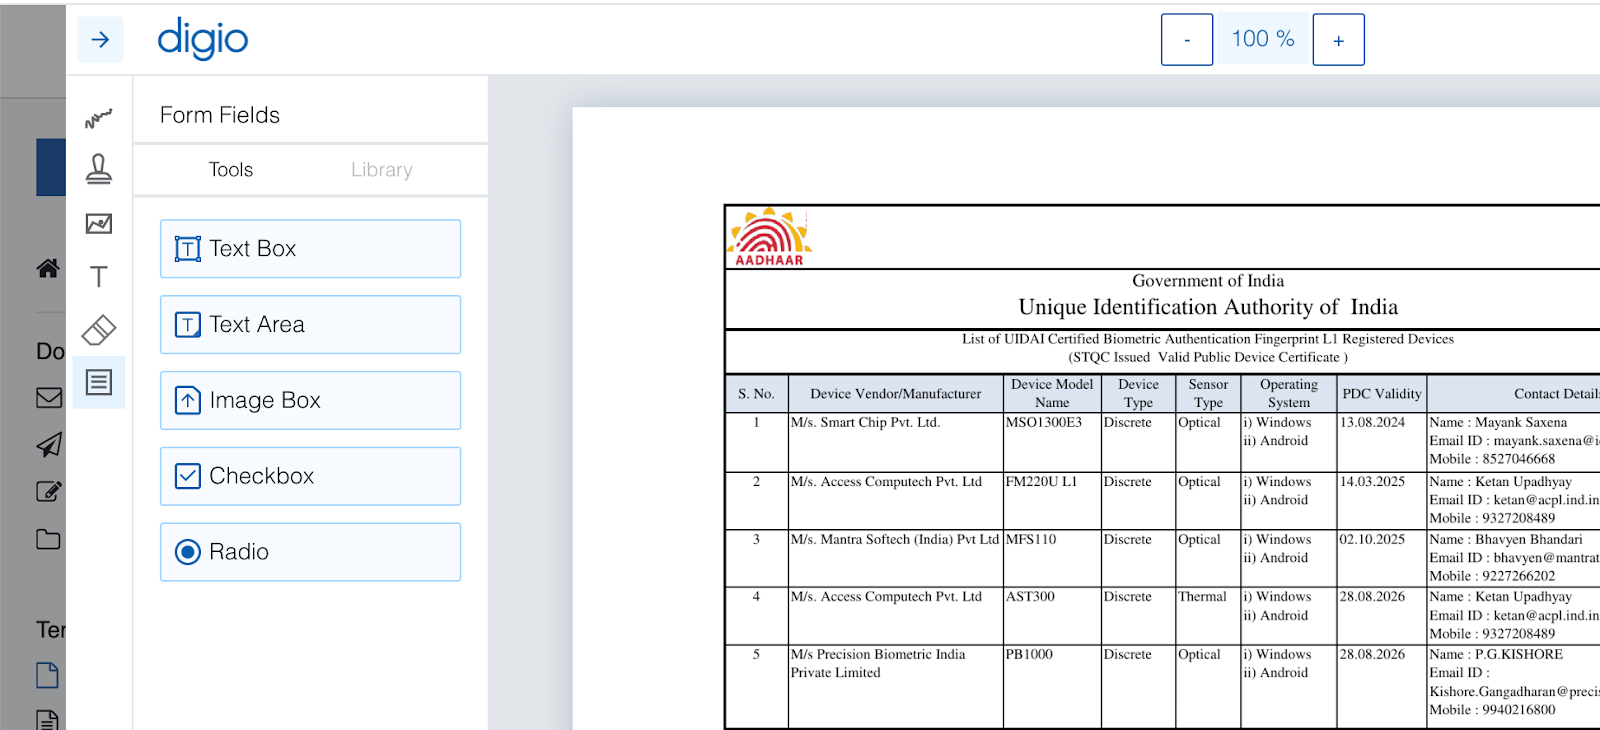
Once Variable assignment is complete. You can click on Save Template at the bottom right corner to save the changes you have made.
Template ID:
Starts with TMP can be found in the url bar.